Basic Usage
The video above demonstrates the basic usage for EncodeGUI, including how to select a video codec, defining the state of the audio/subtitles/chapters, and how to add a job to the queue and start the job queue. Continue reading below for the written guide.
Selecting an Input
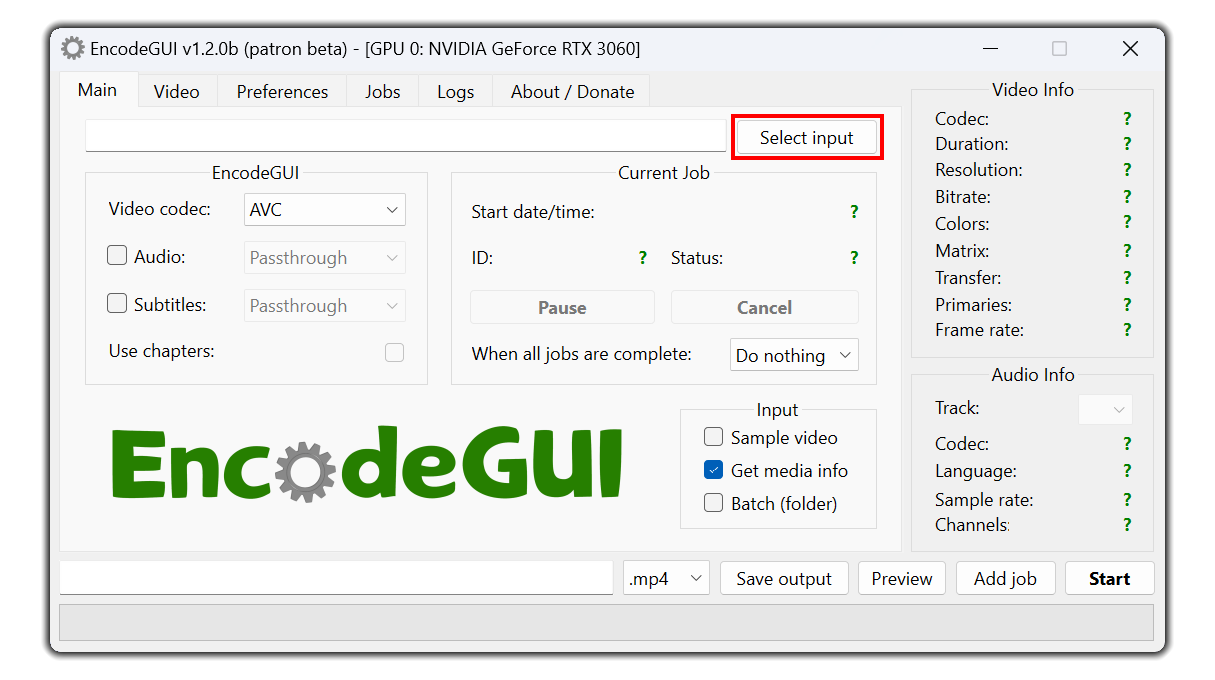
Main tab and then selecting the Select input button. You may select any file, however, once imported, EncodeGUI will check to make sure it's a valid video file.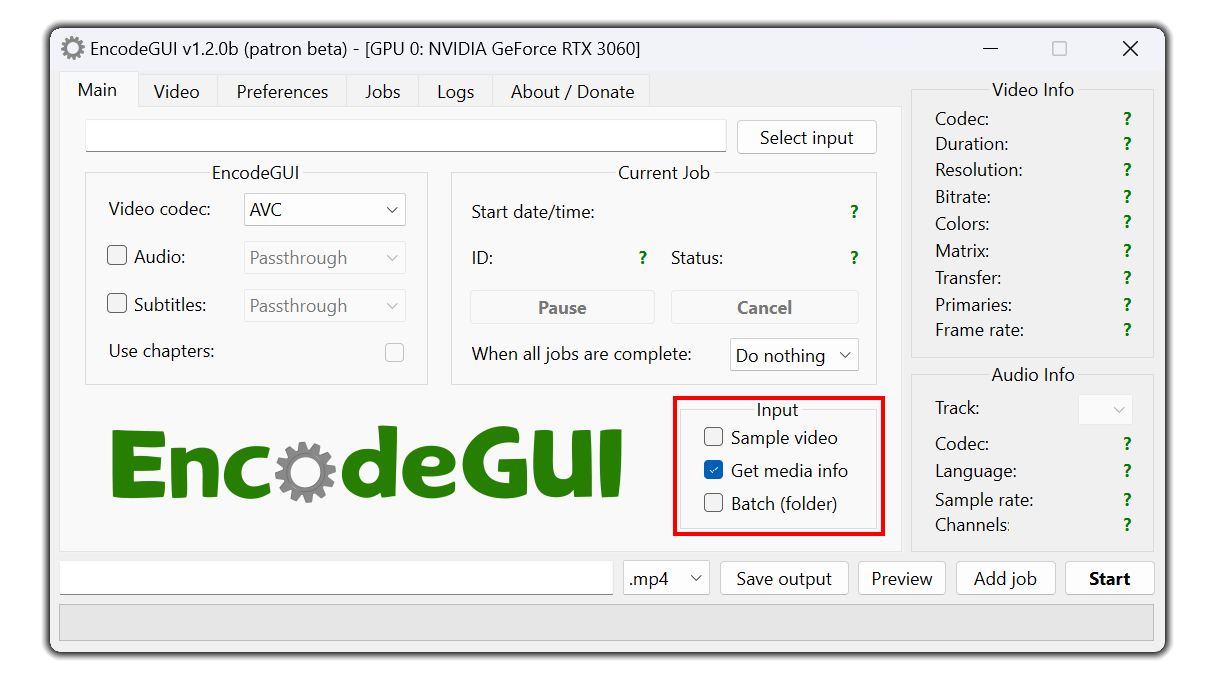
Sample video:
The sample video will load a Creative Commons licensed video for sampling purposes in the application.
Get media info:
This function will allow EncodeGUI to display the media info on the right side of the screen for the file you selected. Regardless if this option is on or off, media info will still be gathered from the source video as it is required for EncodeGUI to work properly. But if unchecked, media info just isn't displayed. Batch inputs also won't display media info.
Batch:
Turning this feature on will allow you to select a folder instead of a single input. This allows you to make the same video encoding configurations for a group of videos without having to import the videos and configure the settings for each video manually.
Note: Currently, no checks are performed on batch inputs. This means that EncodeGUI will not check to ensure that the audio and subtitle codecs for each video in the source directory are compatible with the selected output container when adding the jobs to the queue. To prevent compatibility issues, it is highly recommended to use the
.mkv output container with batch inputs as it has the widest support amongst codecs.
Selecting the Ouput File Destination
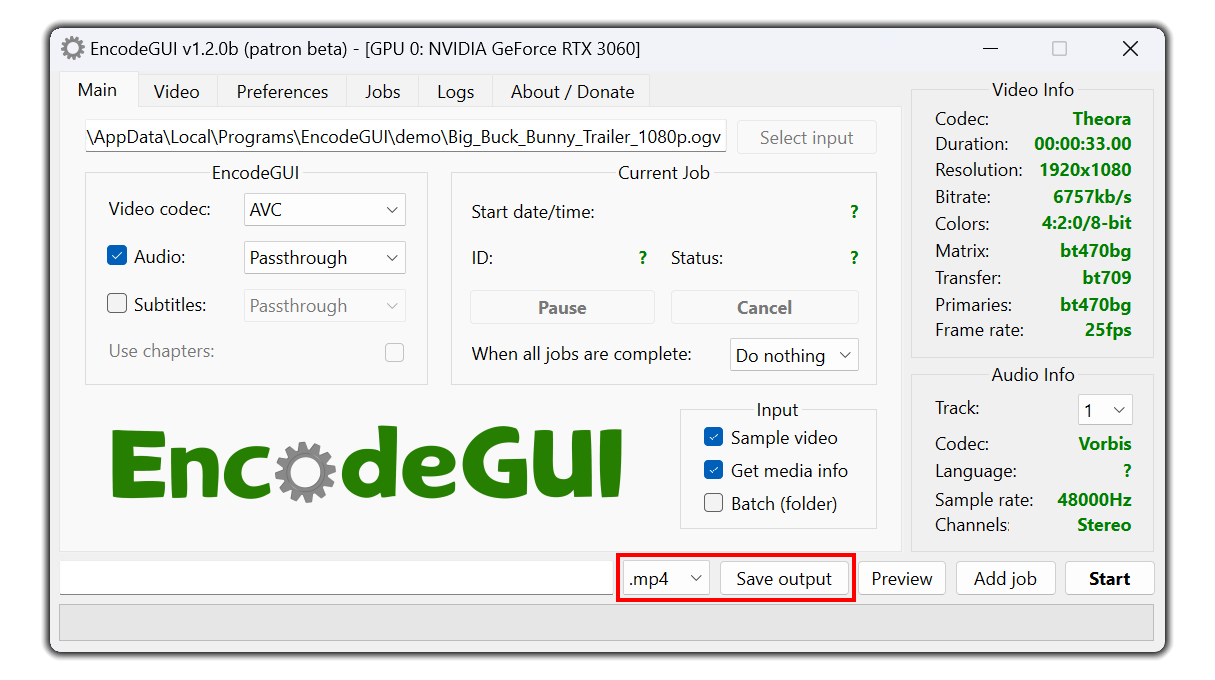
Save output button. Keep in mind, all of the audio and subtitle streams (if exist or enabled) must also be supported with the output video container, else you will get an error. For supported audio codecs, see this page in the docs. For subtitles, see this page.Adding a Job to the Queue
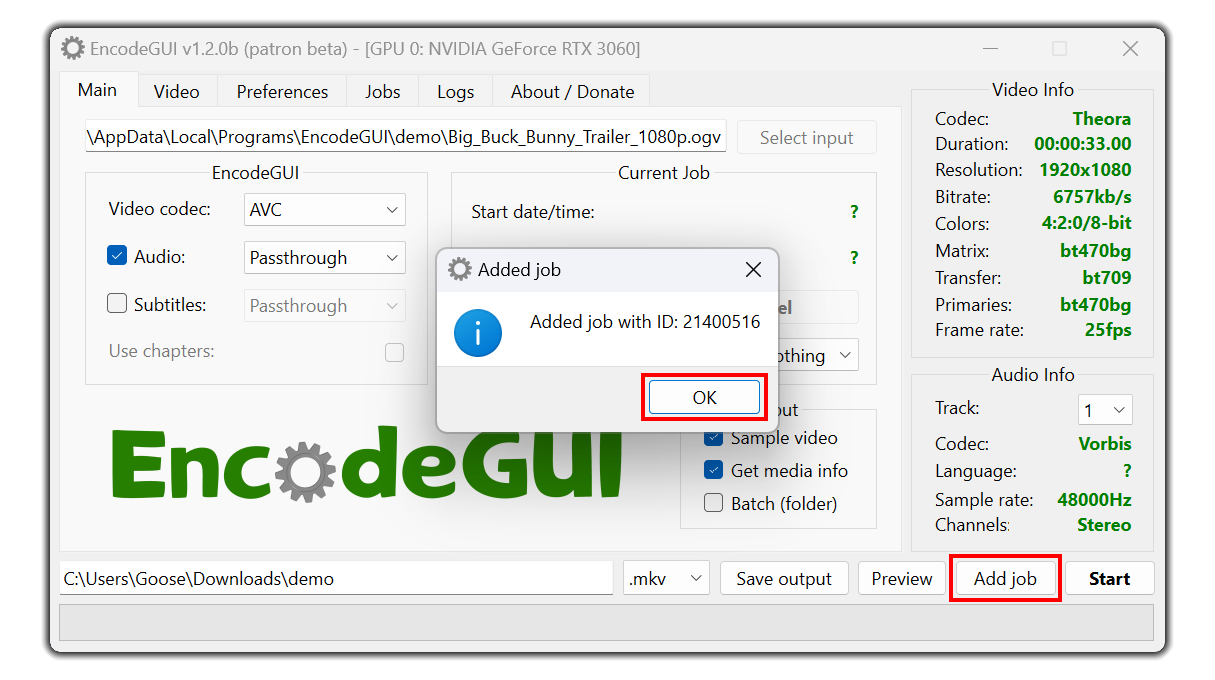
Add job button. EncodeGUI will run a series of checks to ensure that there are no incompatibilities or contradictions with any of the settings that you have configured. If everything is ok, you will get a message box similar to the one displayed above confirming that the job has been added to the queue. Click the Ok button to close the message box.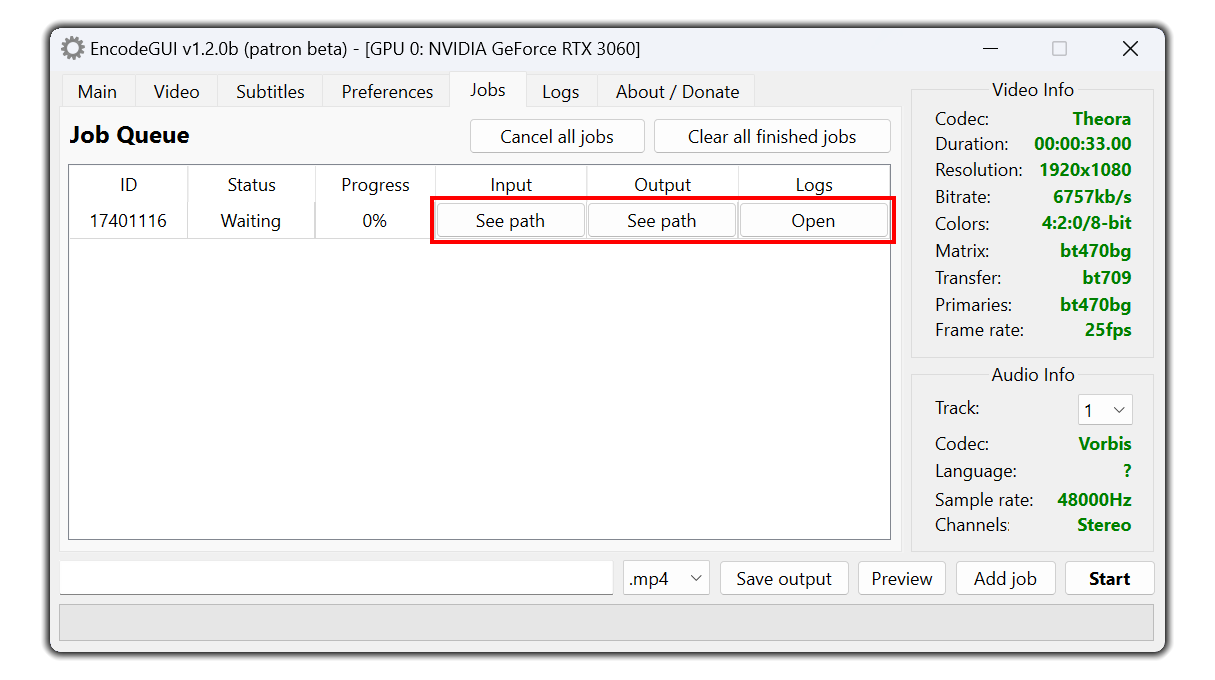
Jobs tab to see the list of queued jobs. You can click the buttons highlighted for info relating to that job. The Input and Output column buttons will open a message box displaying the file path to either the input or output video file. If the file exists, then there will be an Open button displayed in the message box that will allow you to view the video file. The Open button under the logs column allows you to see the associated job process logs. Typically, you will only need to access the logs for when you need to report a bug or issue to the developer.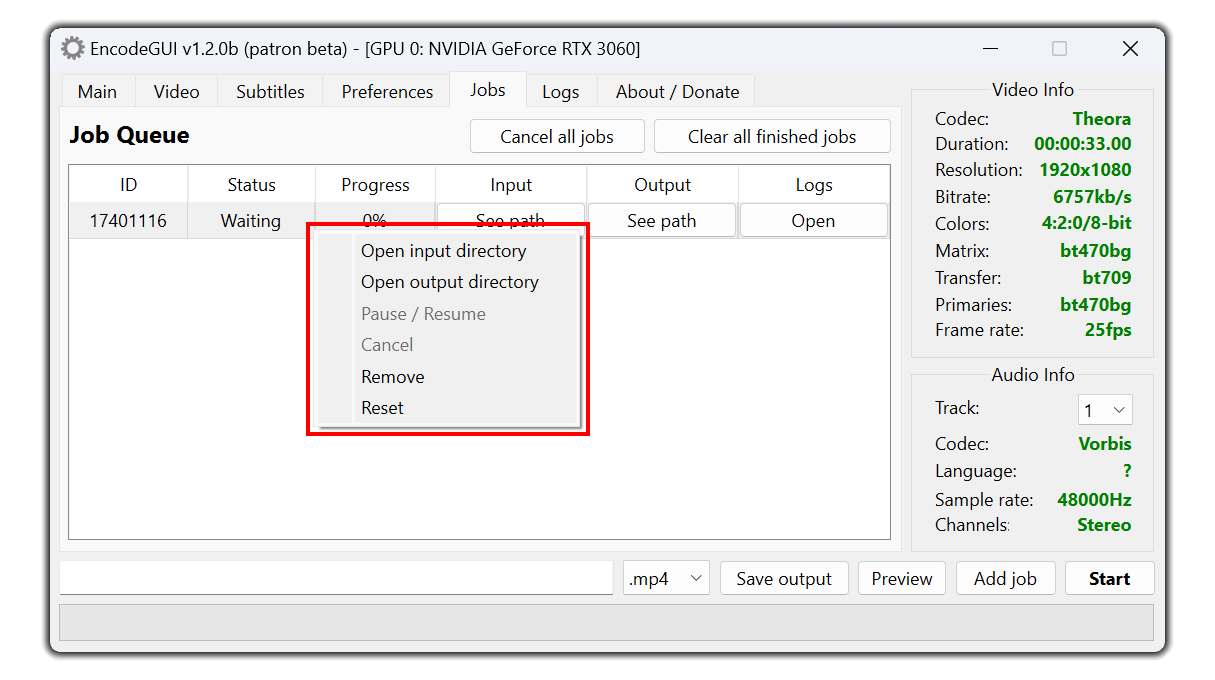
Open input directory:
Opens the folder at which the source video is located.
Open output directory:
Opens the folder at which the output video is located.
Pause / Resume:
Allows you to pause/resume an active process. This option is disabled if the selected job is not currently running.
Cancel:
Allows you to cancel an actively running job. The status of the job must be
Active for the job to cancel. Paused jobs can't be canceled either.Remove:
Removes the selected job from the queue. This option is only available when the selected job is not currently running. Removing a job will also remove any log files associated with that job!
Reset:
Resets the selected job to the
Waiting state. This option is only available when the selected job is not currently running.Starting the Job Queue
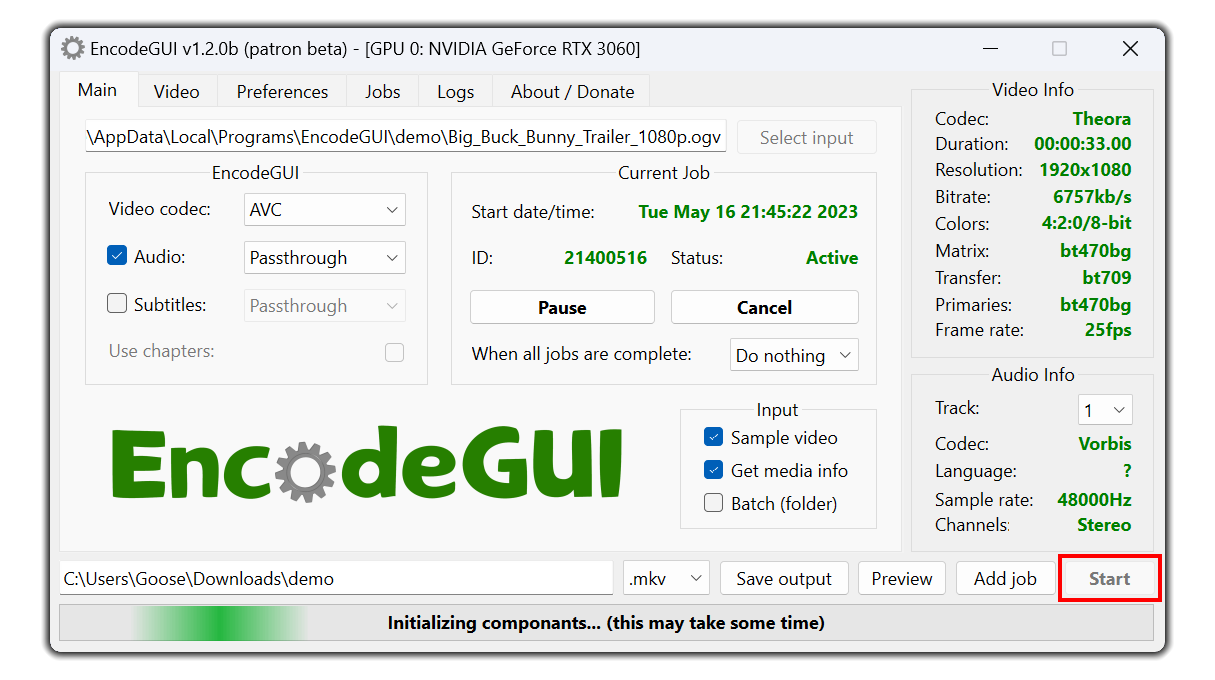
Start button in the bottom-right corner of the app. If you have the live encoding preview enabled in the Preferences tab, EncodeGUI will first extract the frames from the source video before starting the actual encoding process. Once a job finishes, EncodeGUI will automatically continue to the next Waiting job in the queue. The time a process will take mostly depends on the duration of the video, the resolution, the frame rate, and the speed of your computer hardware.
Note: Please DO NOT ask the developer how long a process is going to take - I don't know. Just know that encoding in general will take time and depending on your encoding configuration, can even take several days. EncodeGUI has a time left label burned in the progress bar that will tell you the time left (hh:mm:ss) for the currently running job. Please use this for reference.